Dry your filaments in the drawer
This is a weekend project to keep your filaments safe & dry. It’s very easy to rebuild and adapt to your needs with (hopefully) available spare parts.
After a long term abusive relationship with the 3D printing hobby, where I was brutally murdered several times as described here, it was finally time to find a good partner and settle down. I bought the Original Prusa MK3S. I can finally print dickbutts using plastic. The printer just works, there’s nothing more to add.
Prusa holding a poker face after the Ender 3 told it what it went through
But getting through so much, I can now fully appreciate my printer and do the best I can to keep it happy and a big part of that is to buy good quality filament (I use Prusament and Devil Design) and keep it dry (around 20% humidity and below 60C, for almost all filaments and materials).
How to keep the filament dry
There are many ready made solutions to keep your filaments dry. Either purpose-built filament dryers or generic vertical food dehydrators to dry a filament before use or after misplacing it inside your pool, but they don’t take care of the permanent/long term storage.
There are also filament containers, which take care of storage as well. This is the most used type as you just set the target humidity and forget it. Of course there are both ready made storage solutions and DIY.
Dehydrating filament boils (hehe) down to more or less the following building blocks:
- Moisture absorbers (silica gel, the small non-edible salt packs that you get with electronics)
- Heat - just heat it up and moisture will evaporate
- Dehydrator - no idea how they work, so I’ll market it as “magic boxes that lower humidity”
- (There’s also vacuum that I just learned at the time of writing but not at the time of project planning. More info: https://www.youtube.com/watch?v=eqQRN9TUw08) I wanted something that integrates with my lab (no random plastic containers here and there) and be dirt cheap with stuff I had around - I had just spent a lot on a new printer and my lab starts to seem like a garbage disposal place from the various random parts I’ve collected over the years for “future projects” - lets make this one of them. So it’s set, I’ll build something on my own.
What do we have around
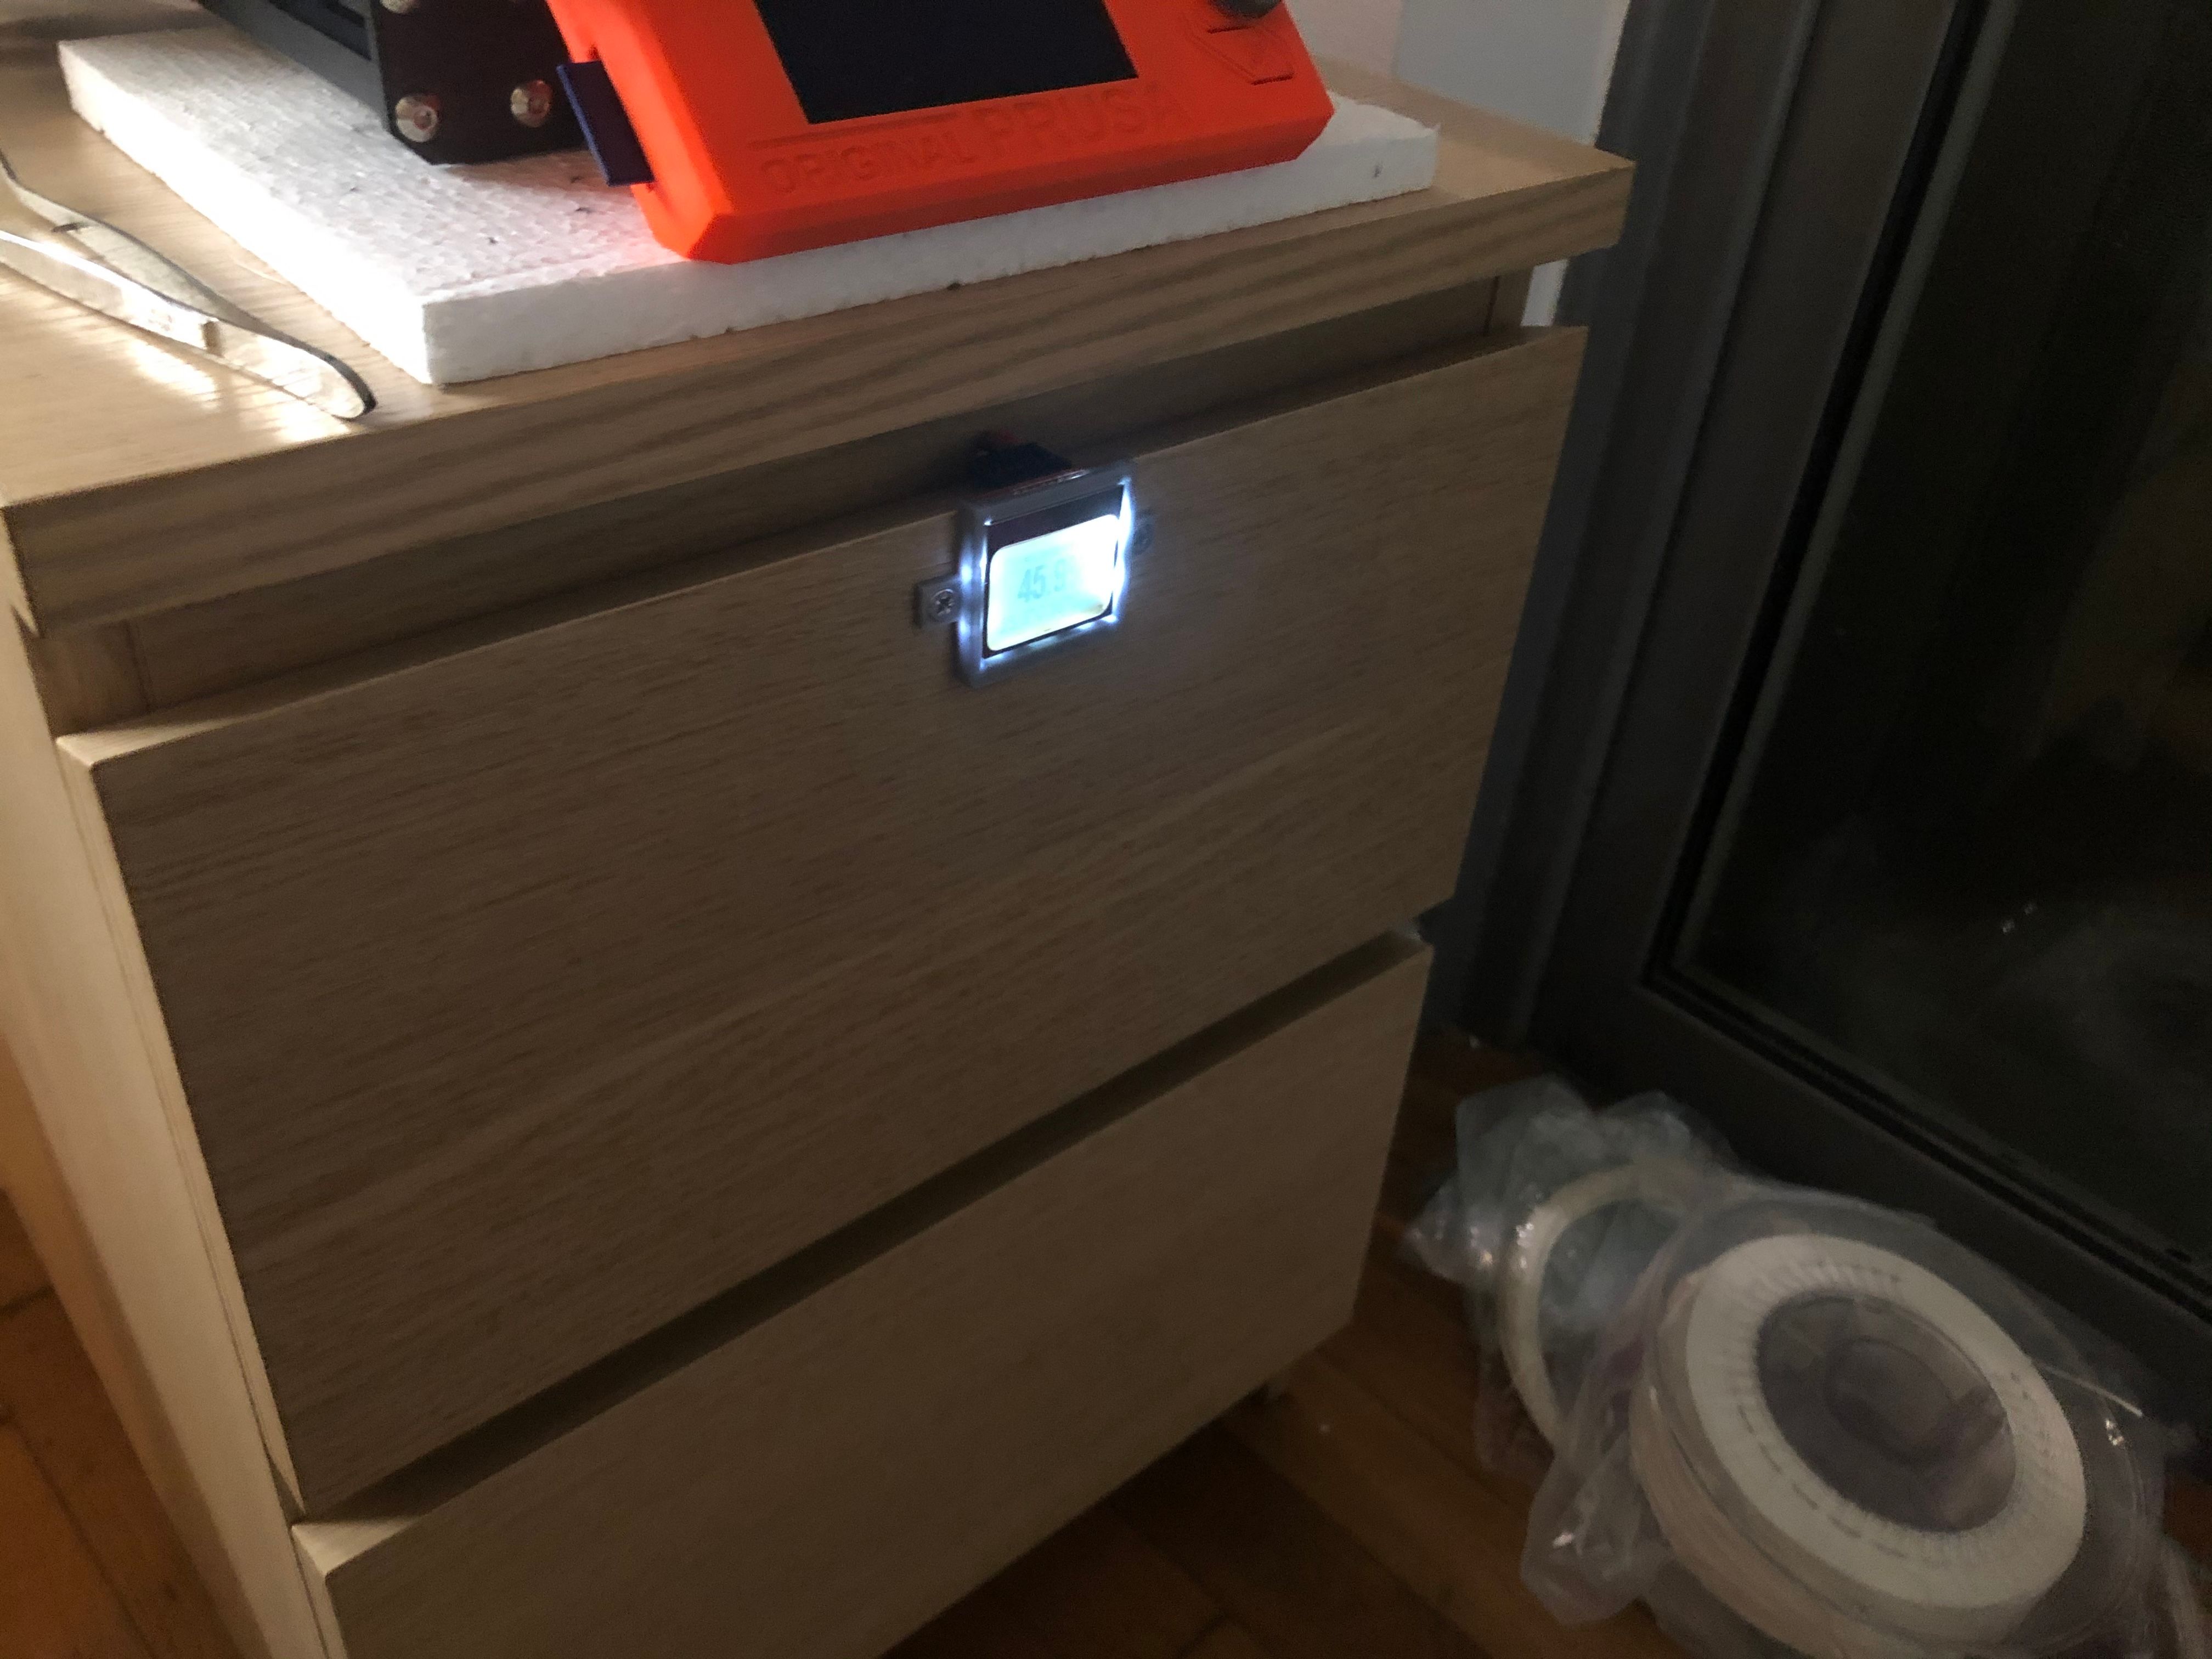
The printer was laying on a perfectly sized nightstand and it was a very good fit. The filaments were placed on the first drawer and random prints awaiting use as well as some spare parts were sitting on the second drawer. I just needed to somehow create a controlled climate on the first drawer.
My target was to use as much “building blocks” as possible (aka have around), so heat & silica gel.
Silica gel requires no further explanation - as packages from all over the world arrive at your house, you’ll gonna build a big stock of them and never run out.
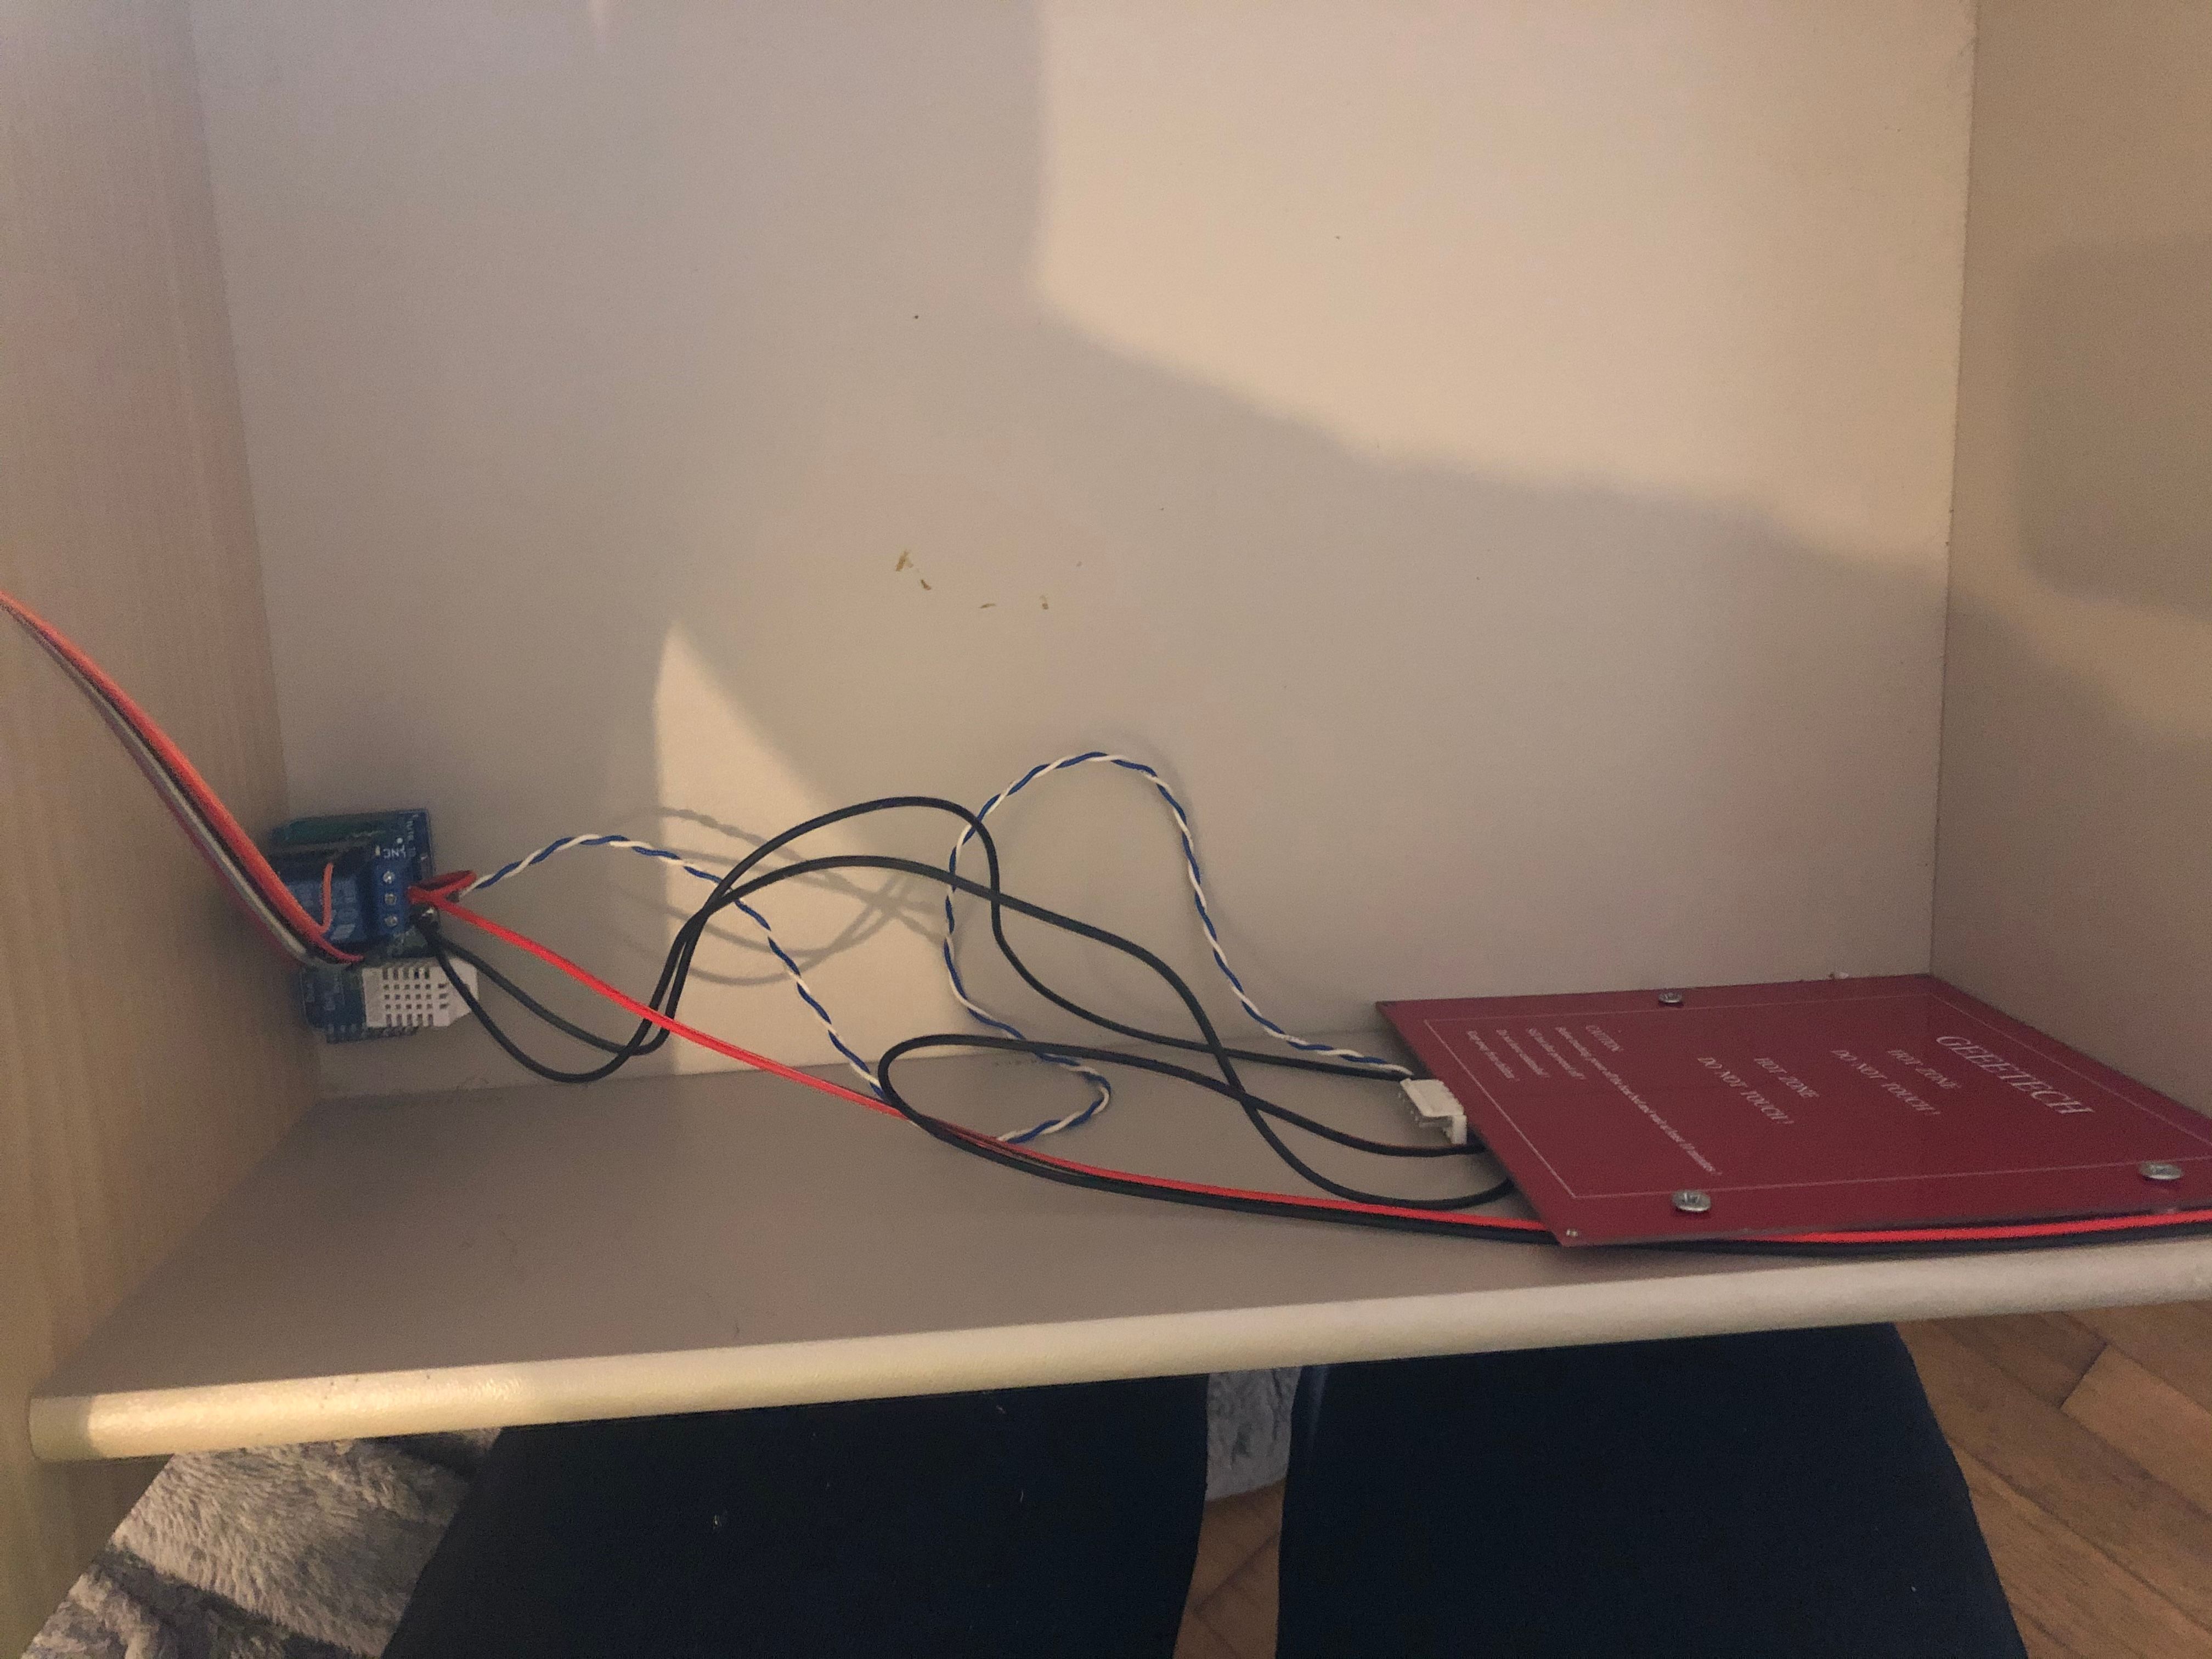
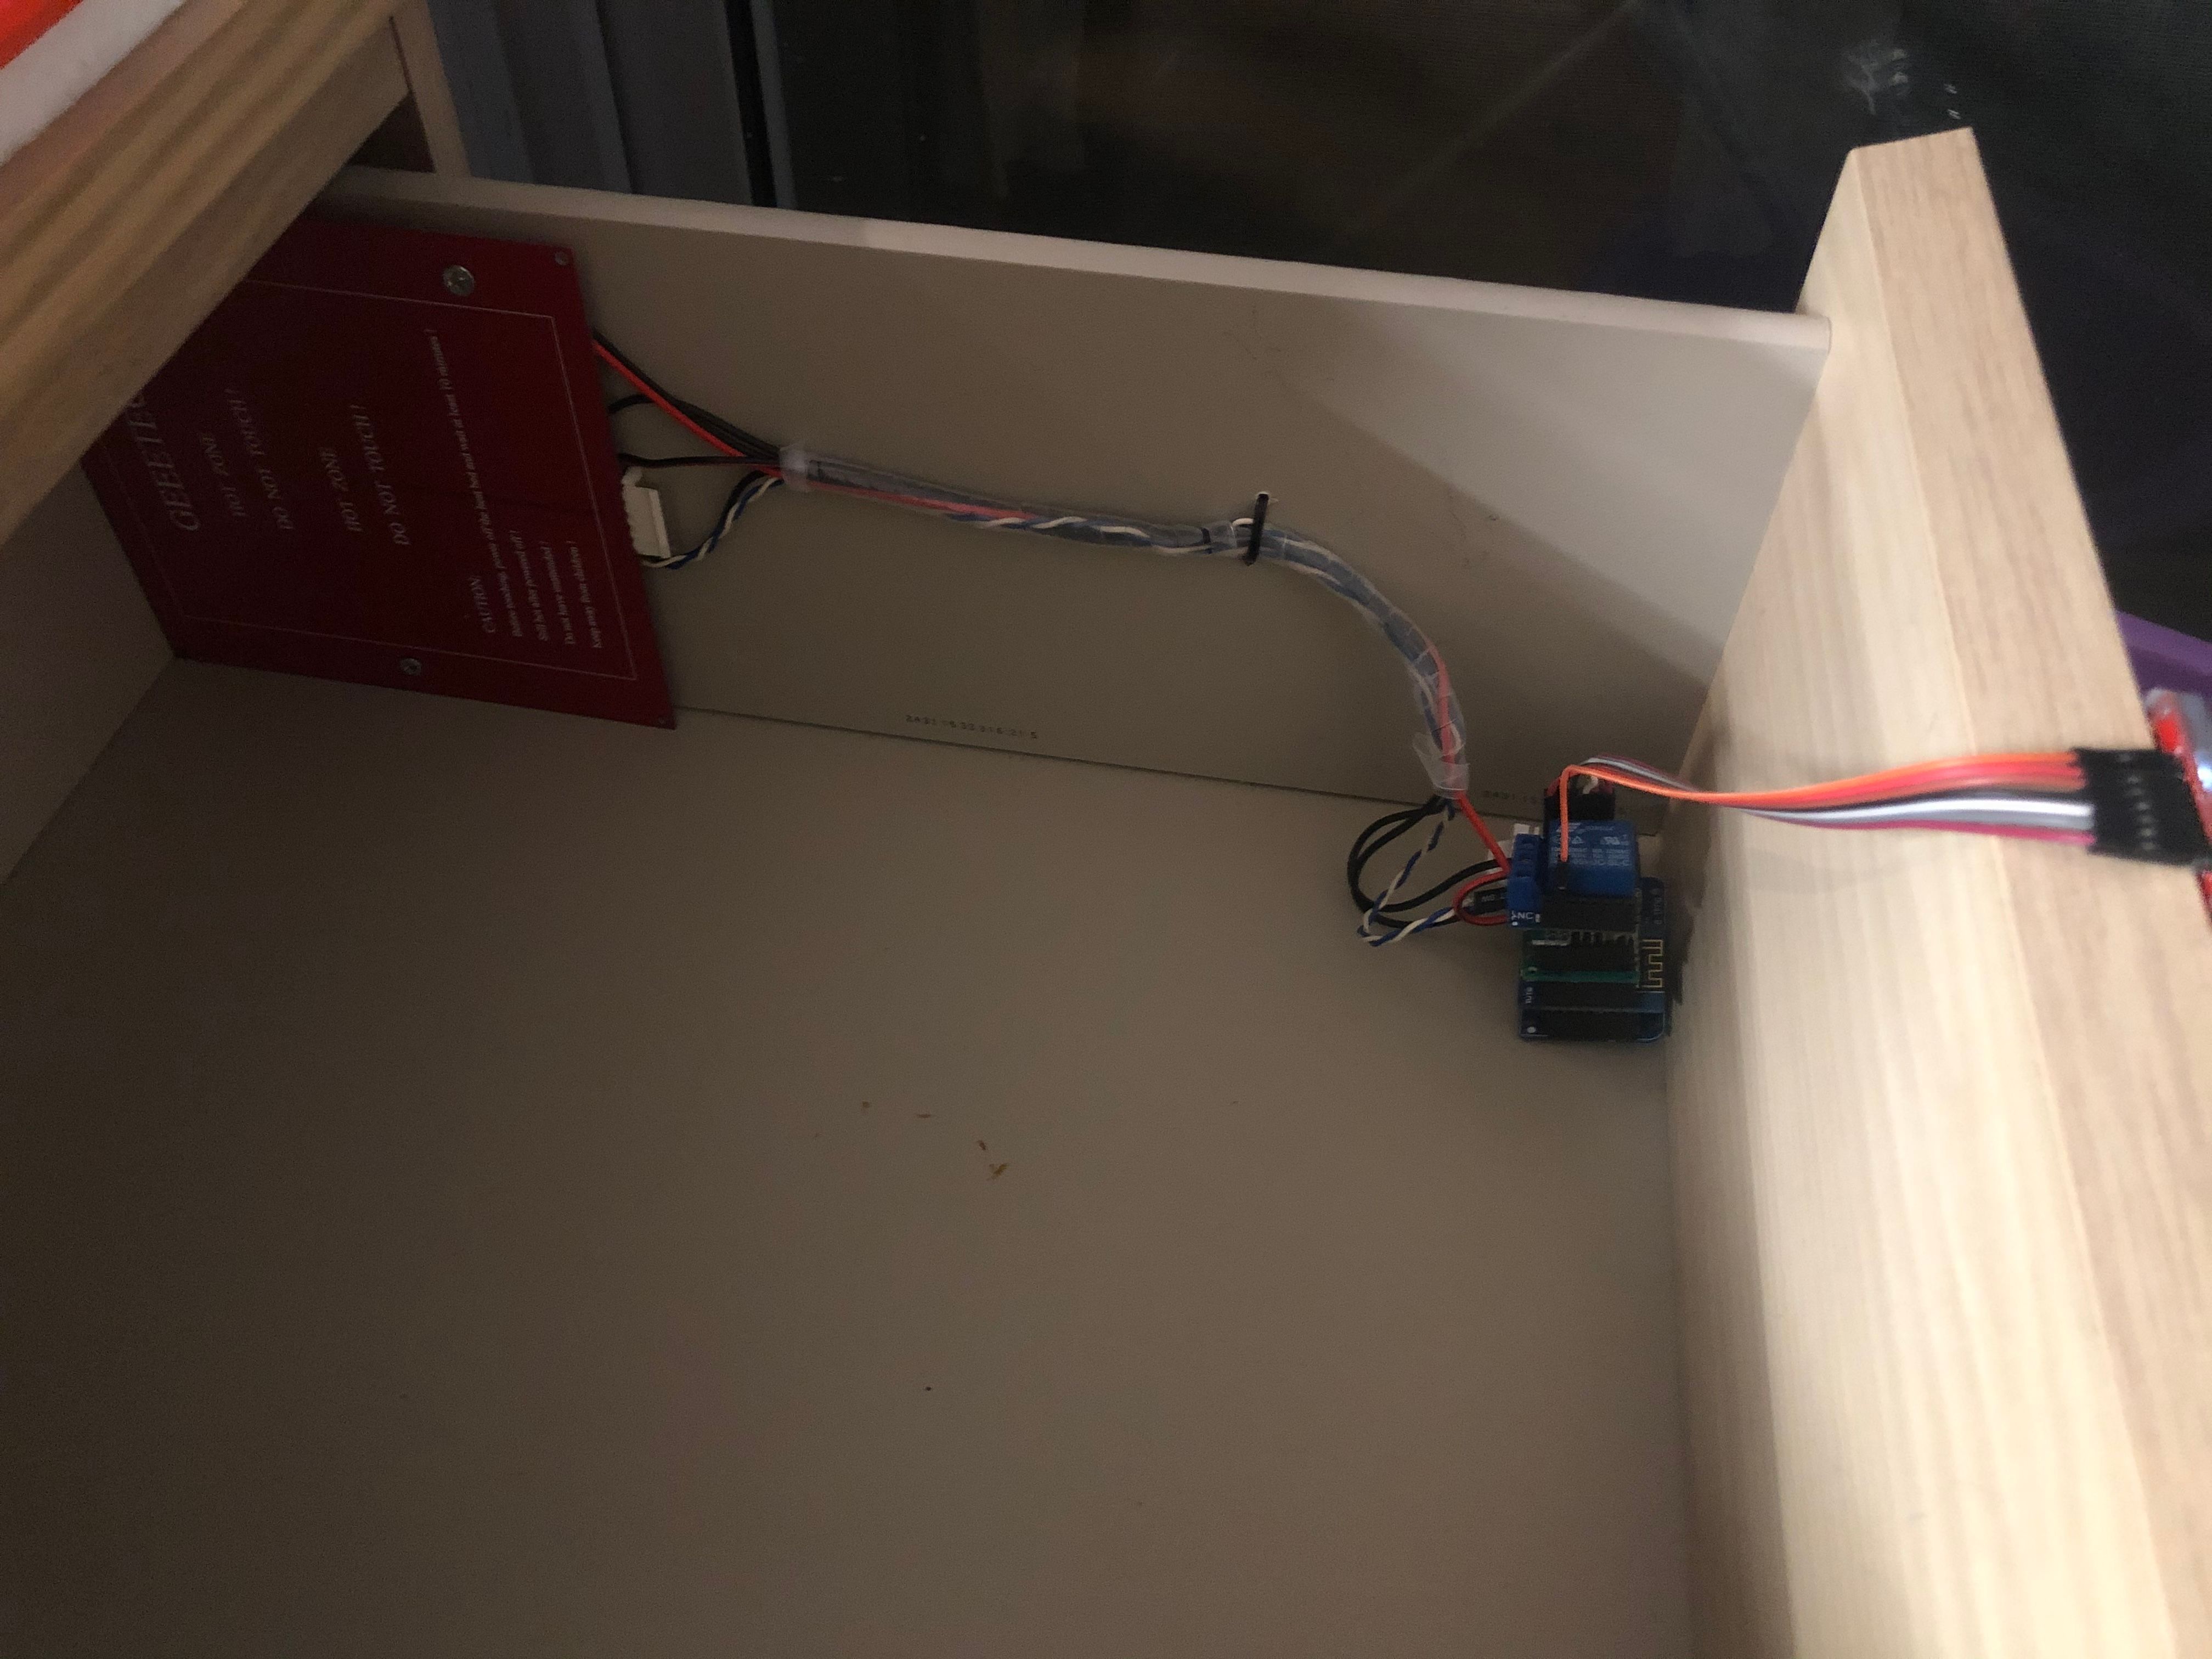
For the heat part though, I took an interesting turn: Use the small heatbed I had when I tried to make a delta printer and then spent thousands in therapy for PTSD.
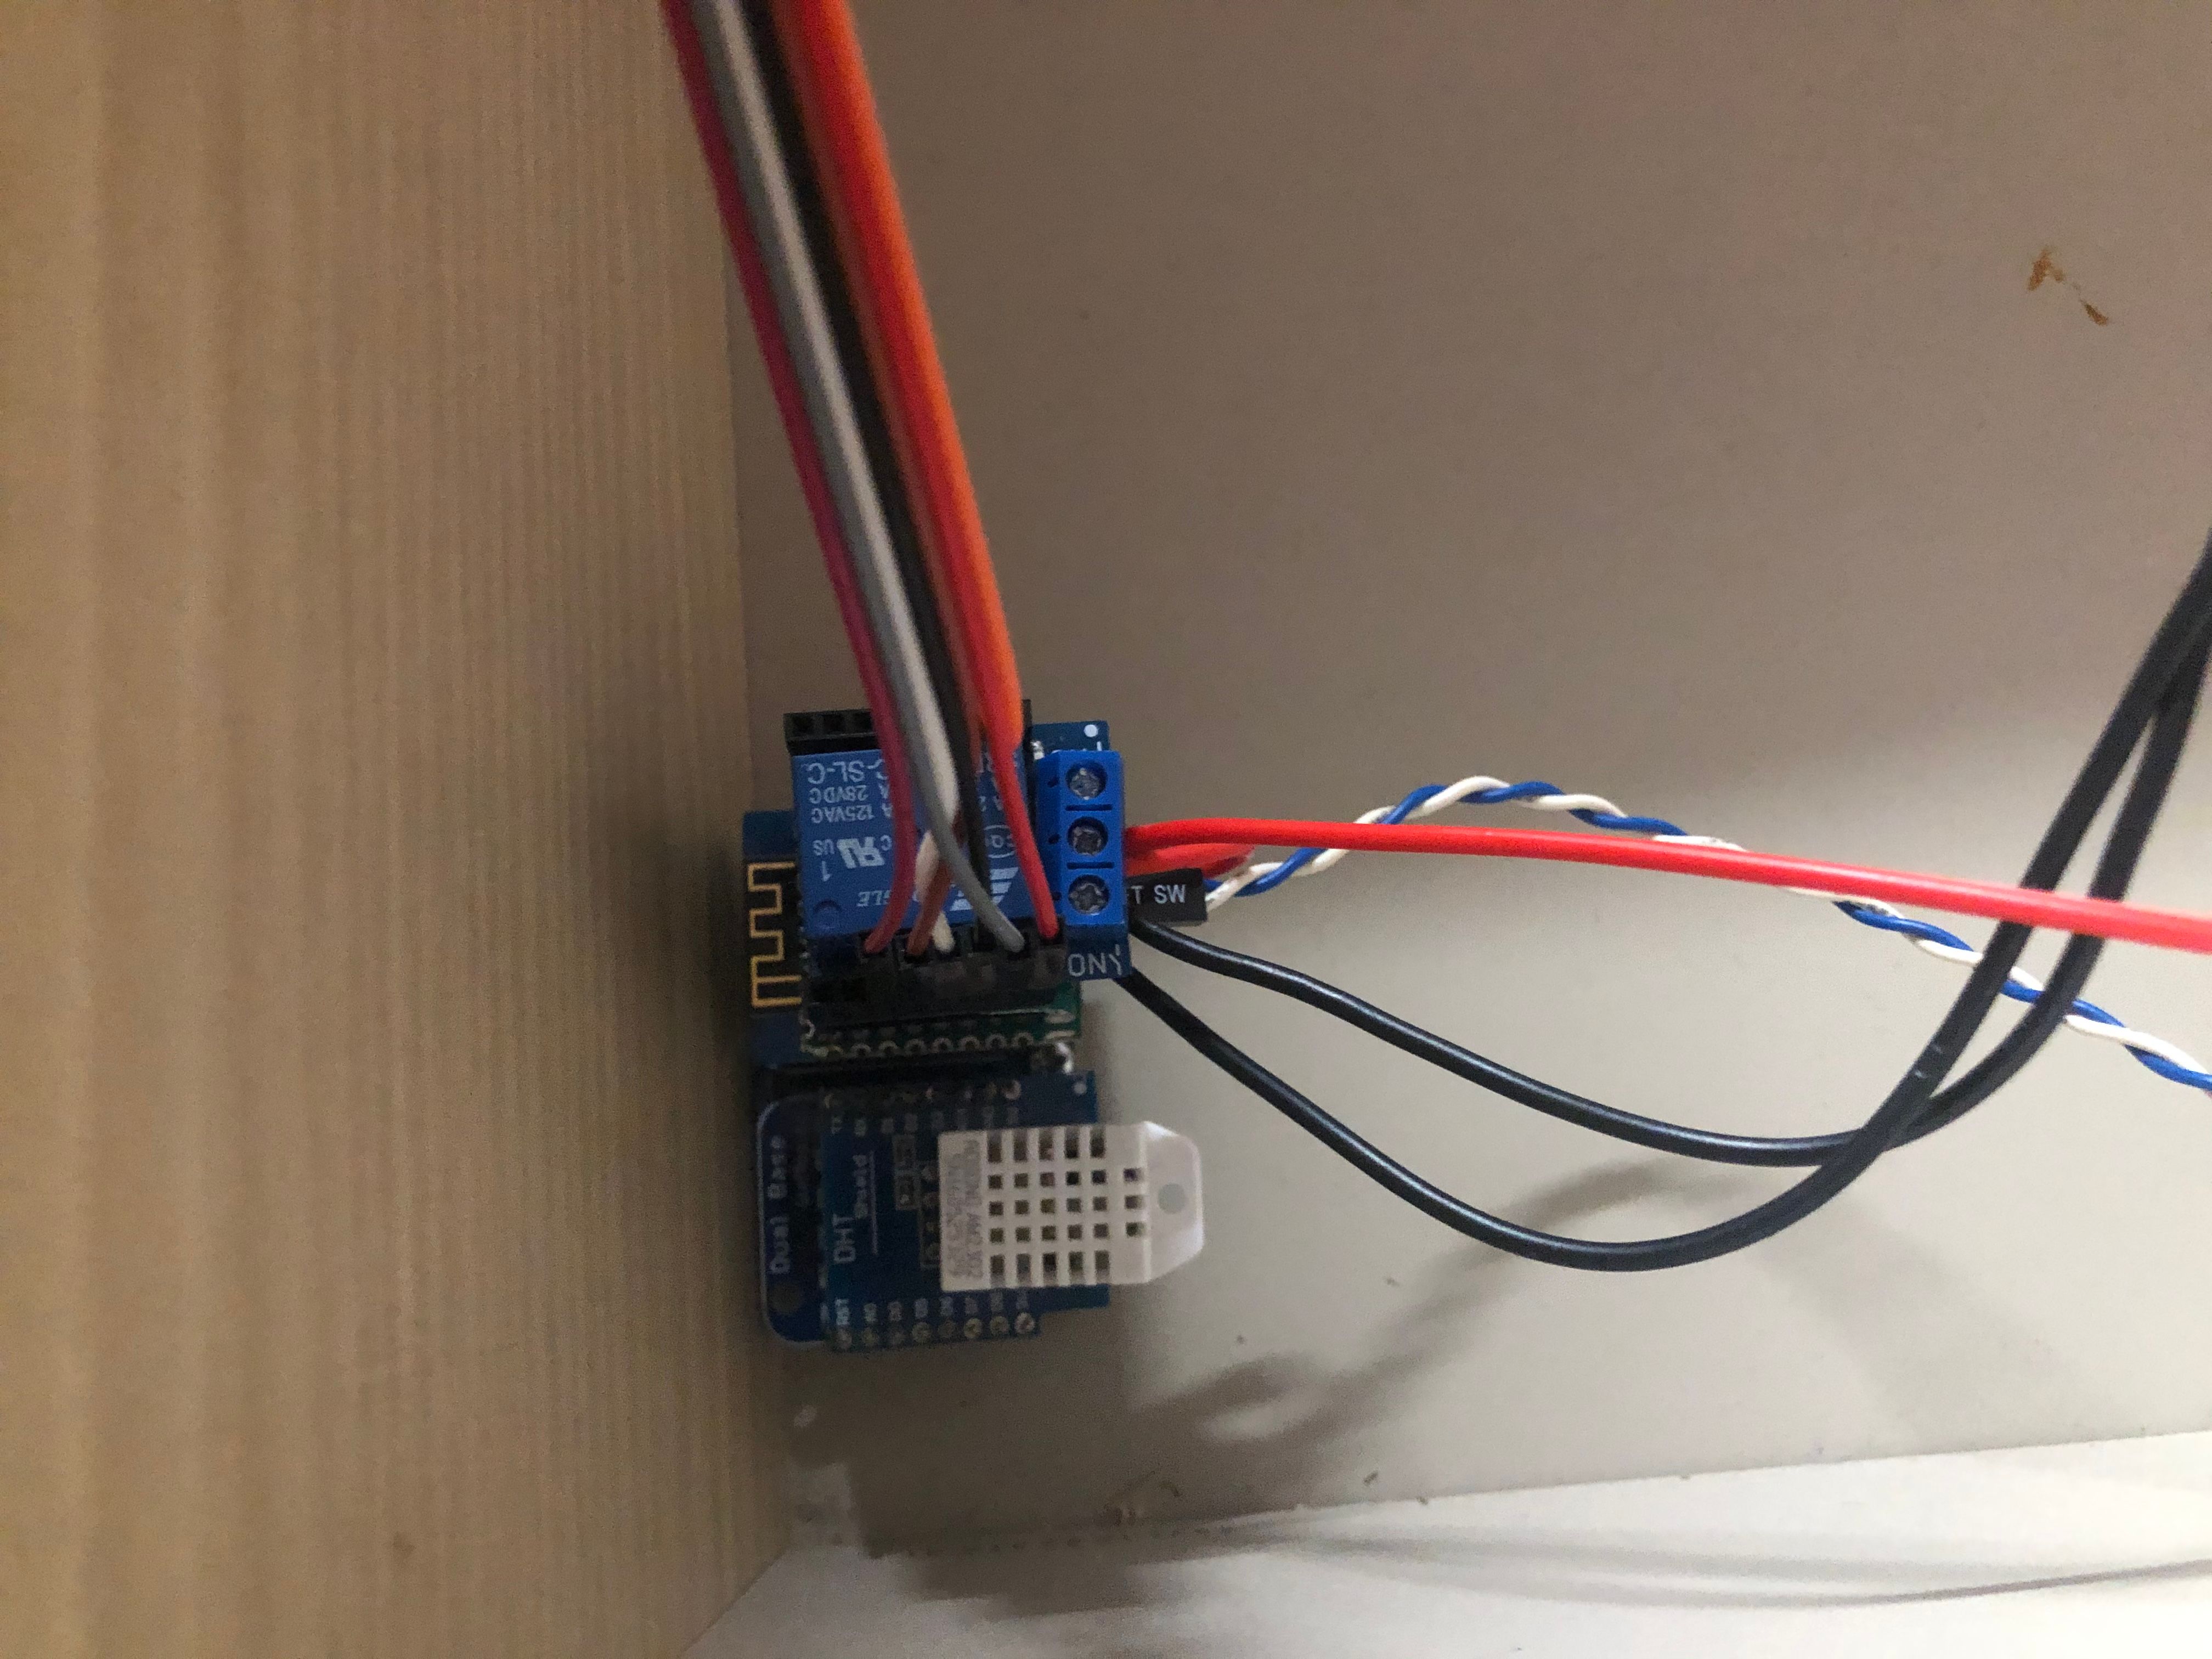
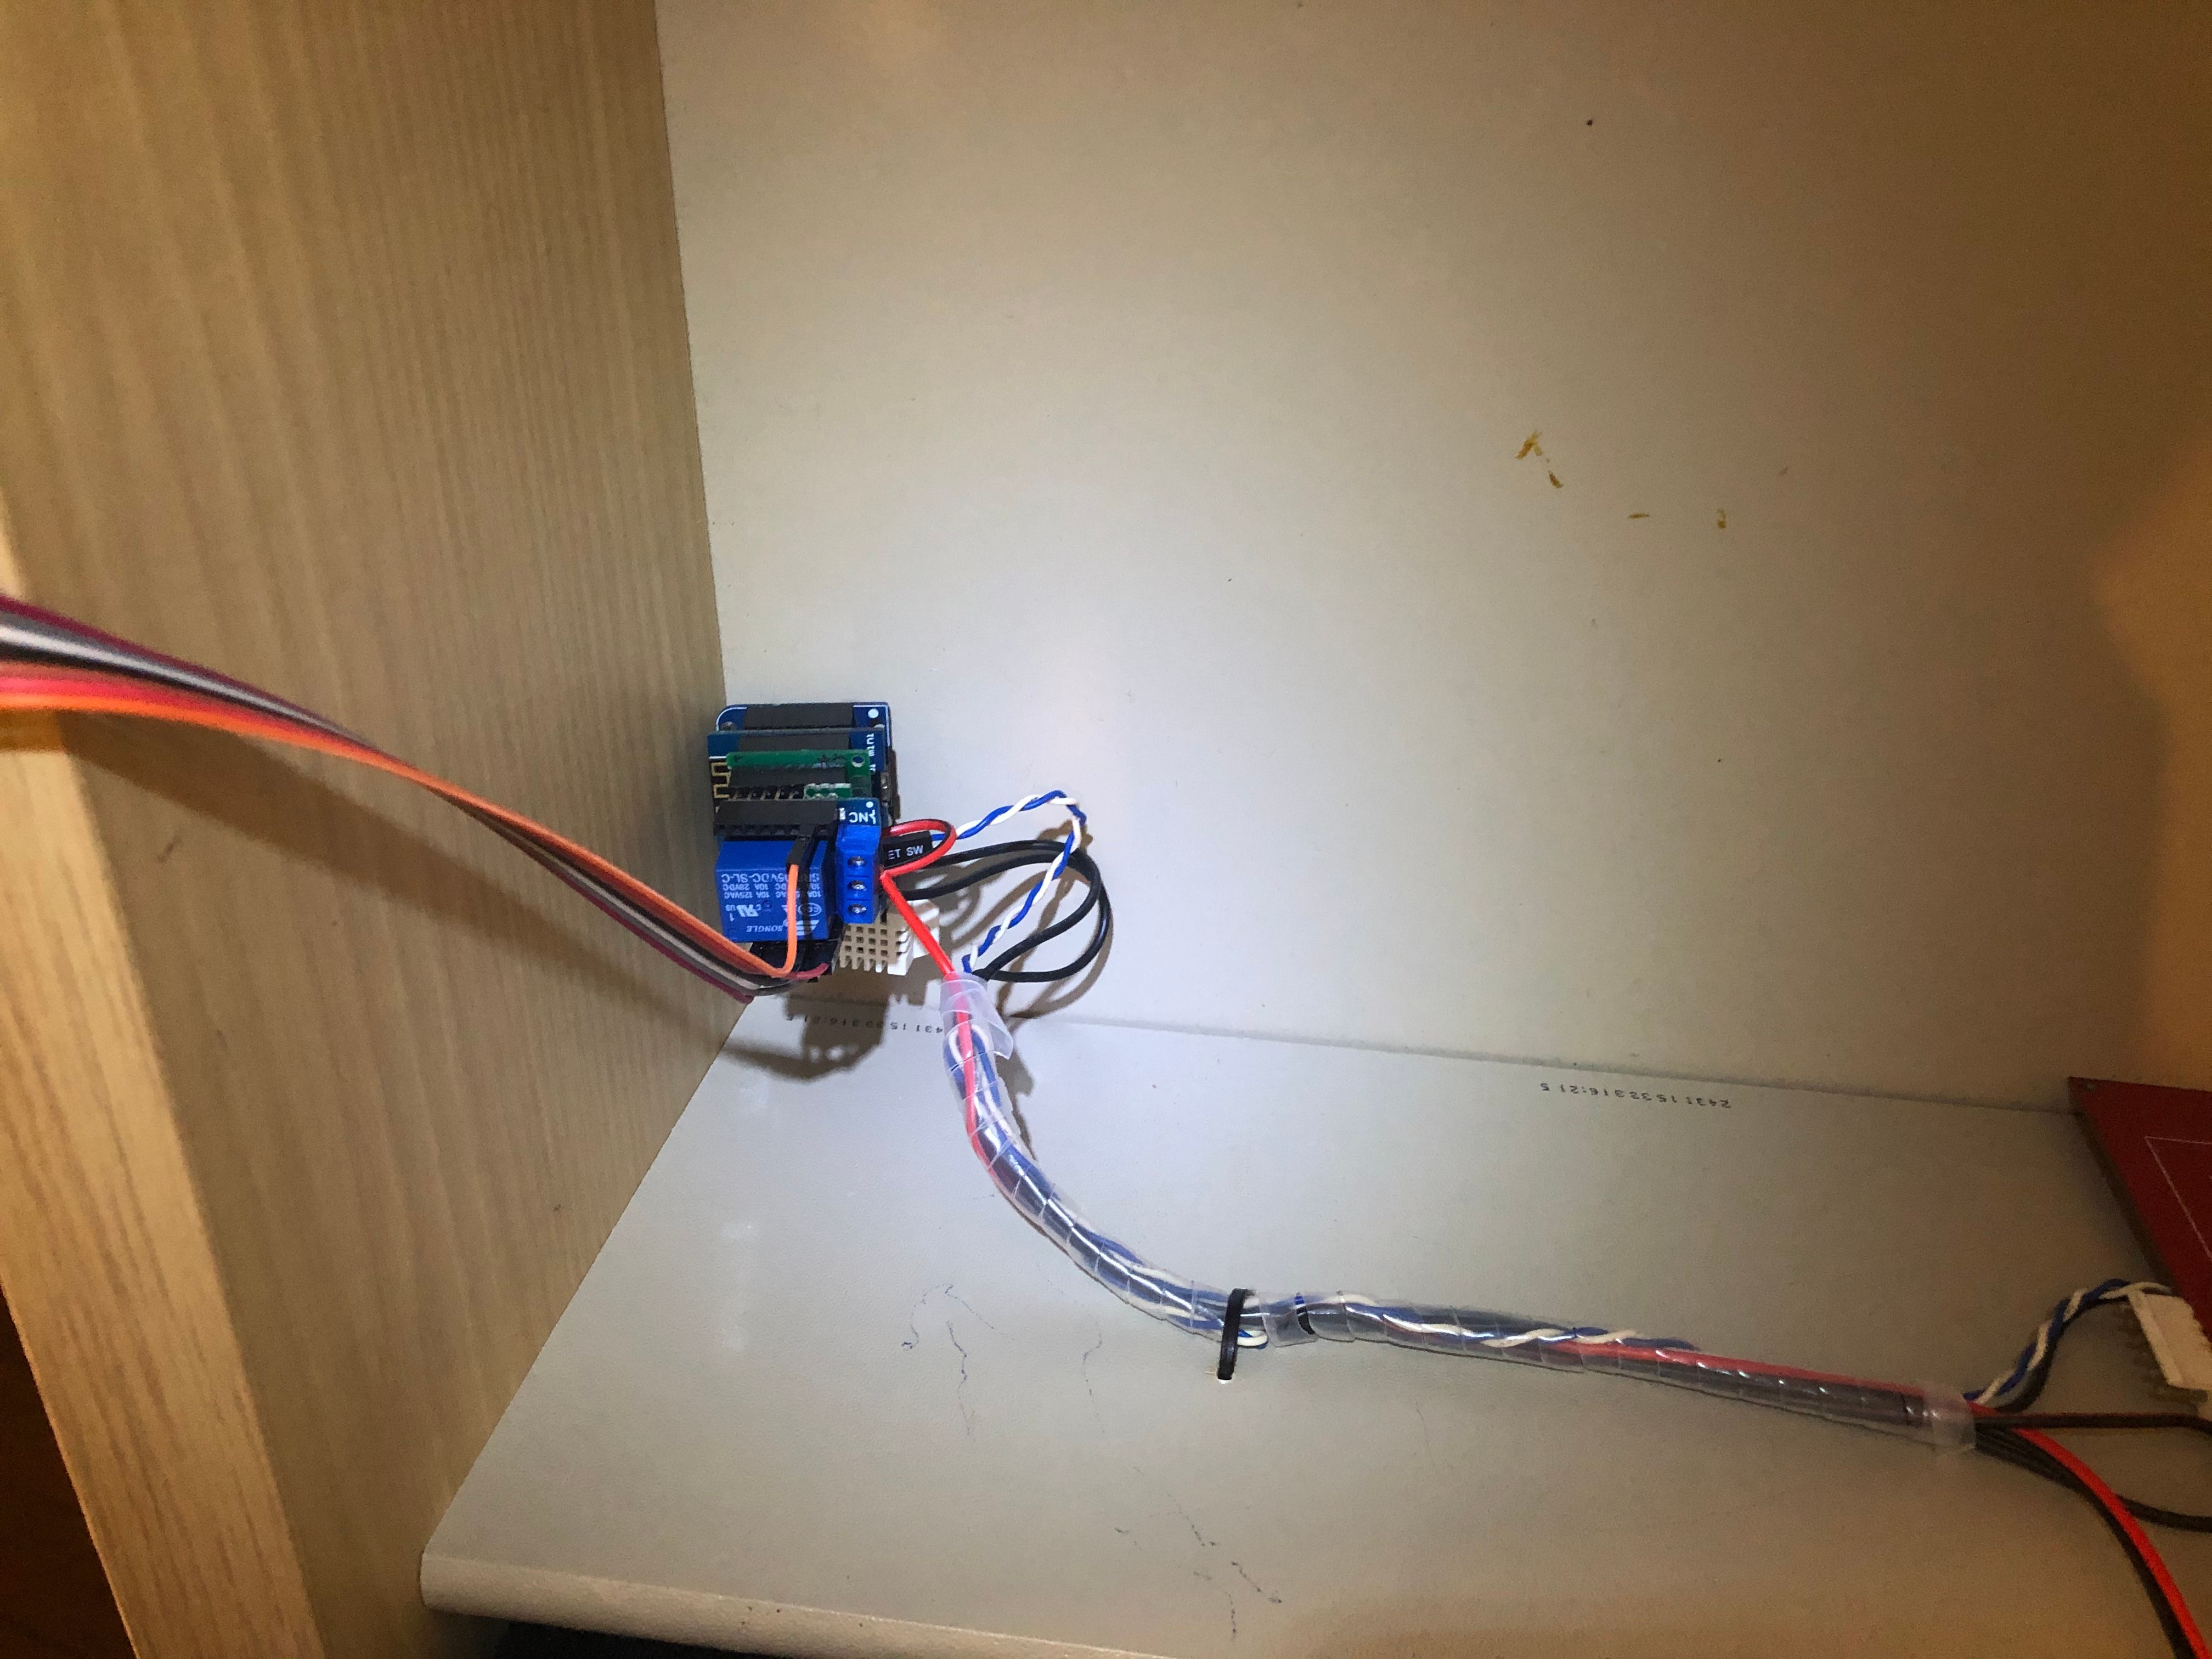
The electronics to control the heatbed was the easiest part - I instantly knew I’d use one of the thousands ESP8266 WeMos Minis I had lying around (I had no need for WiFi or the horsepower, but it’s a buck each and I had thousands), with a DHT22 temperature & humidity sensor and probably a screen to have a view on what’s going on
So the plan was the following:
- Make the temperature/humidity controller using the ESP
- Install the heatbed and wire it to the ESP
- Throw in silica gel bags
Building the climate controller
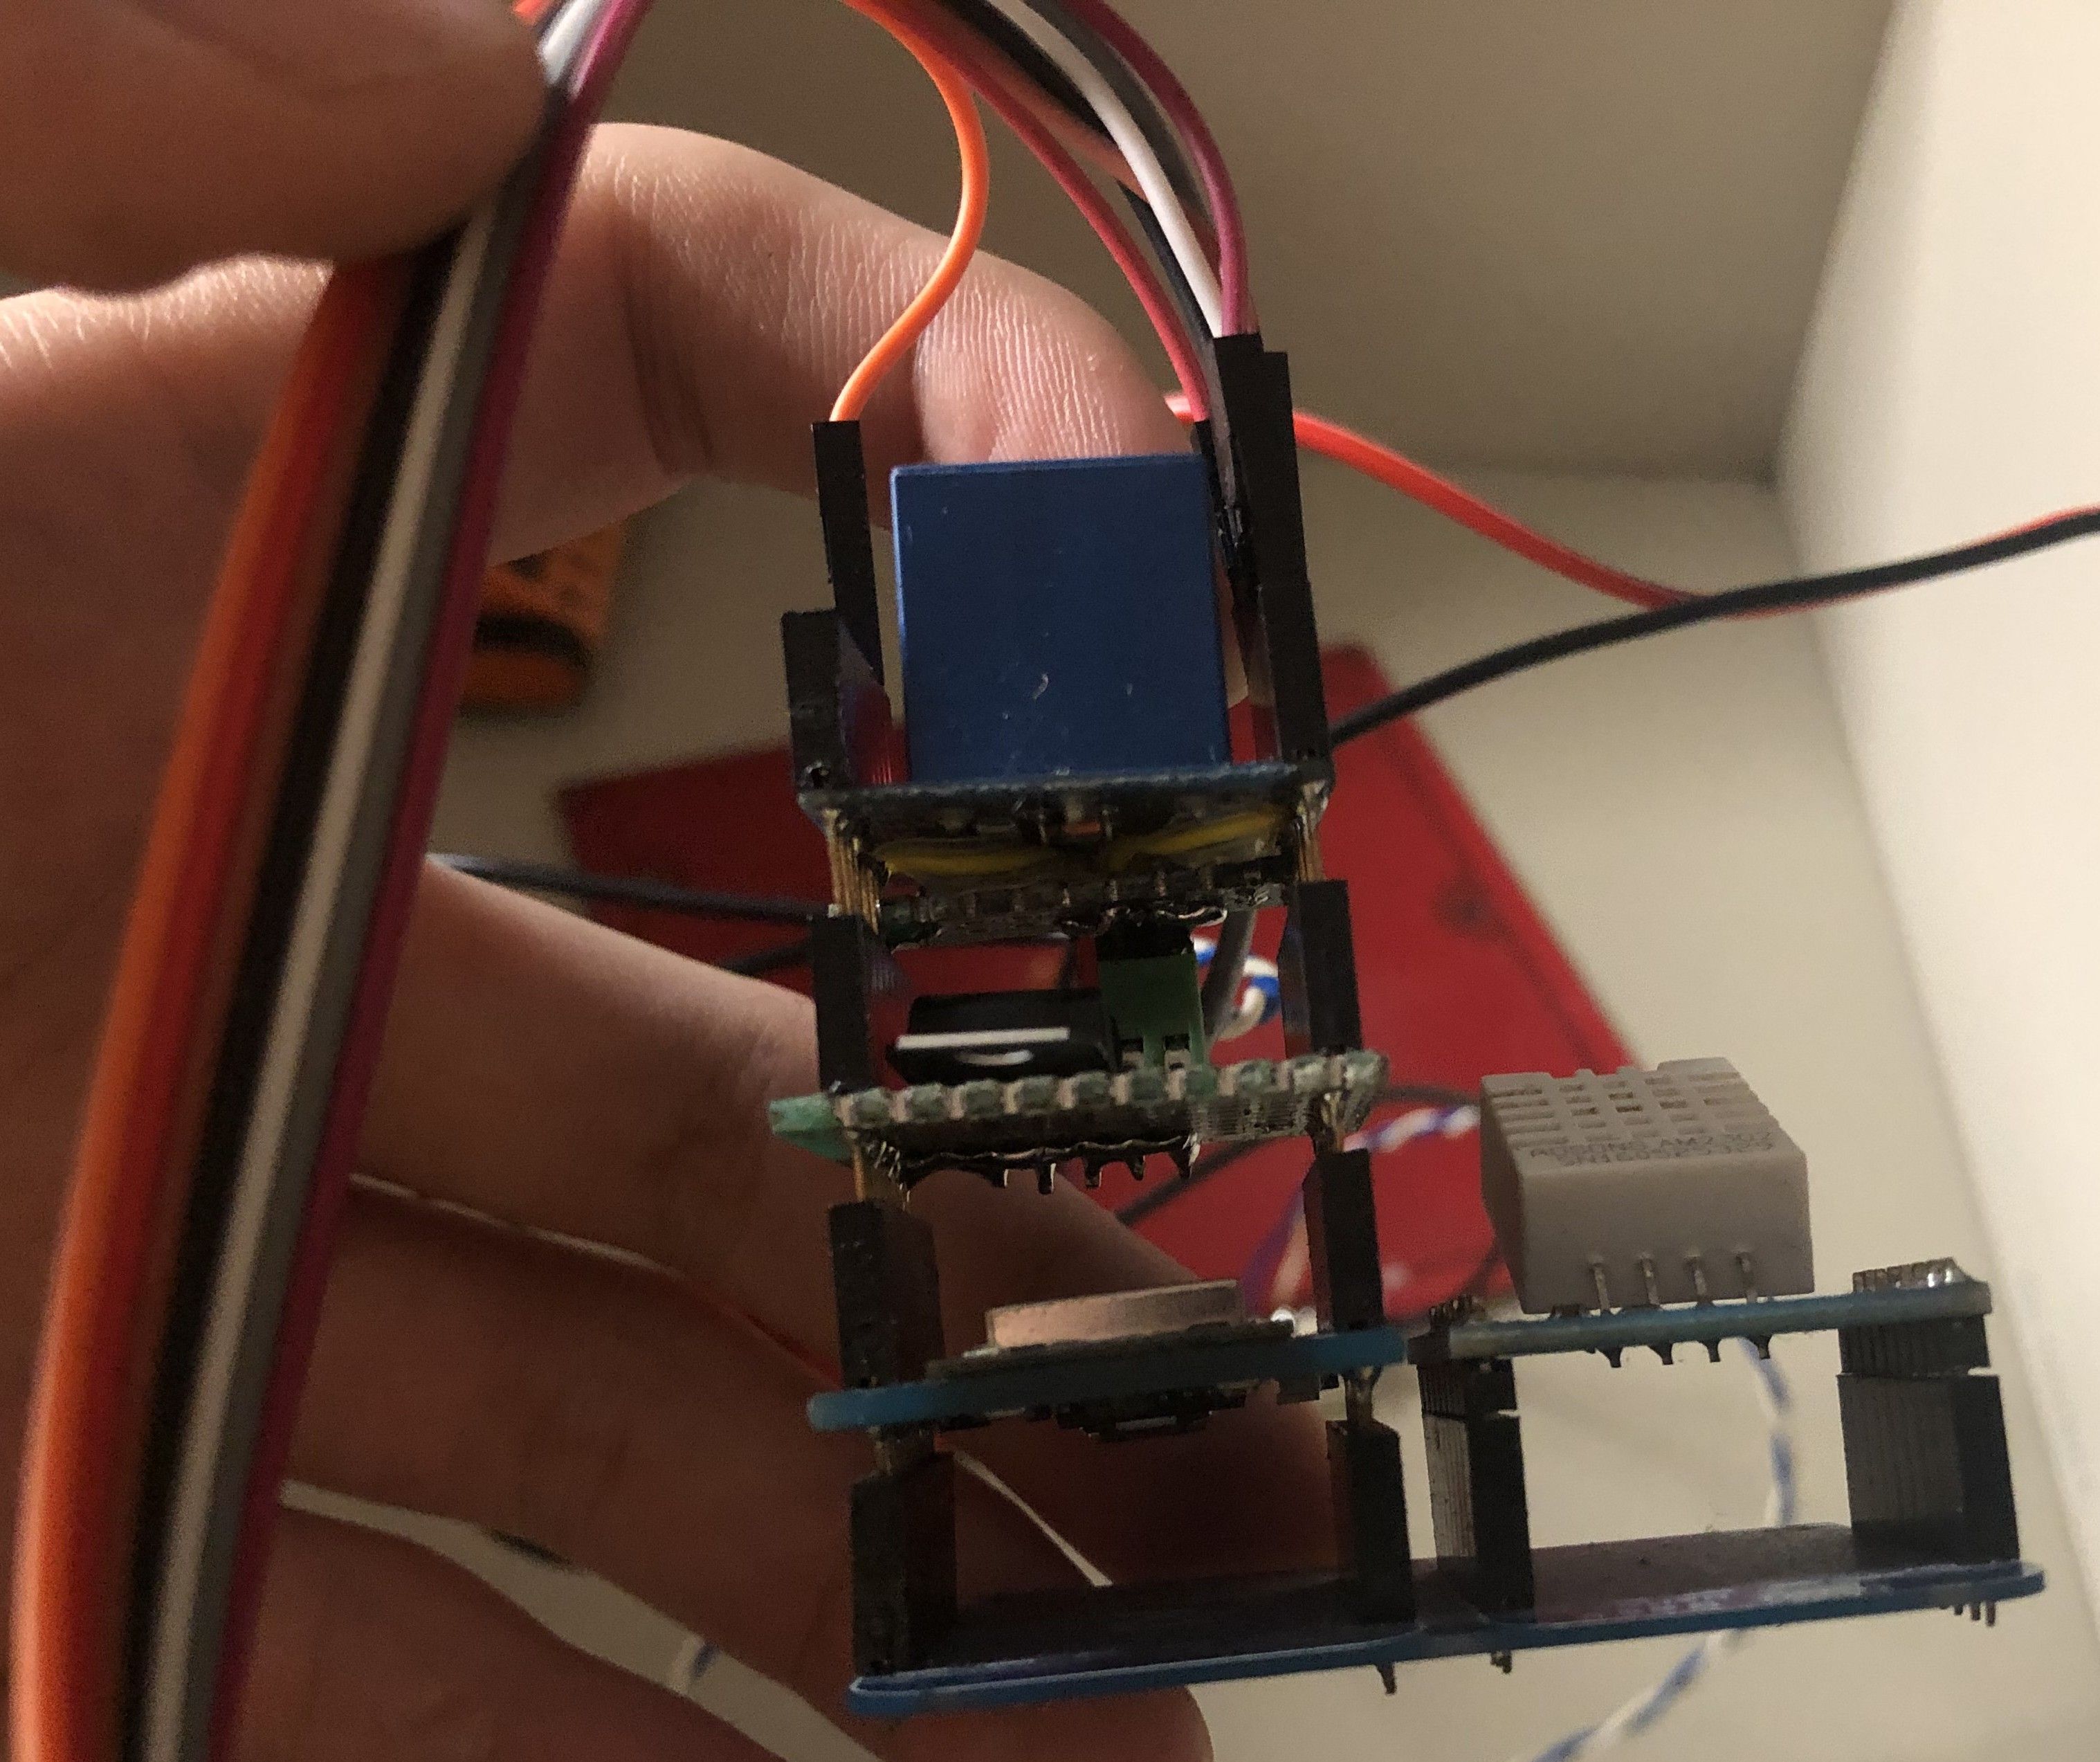
For this recipe you’re going to need:
- WeMos Mini
- DHT22 temperature/humidity sensor (the white one, the blue is garbage)
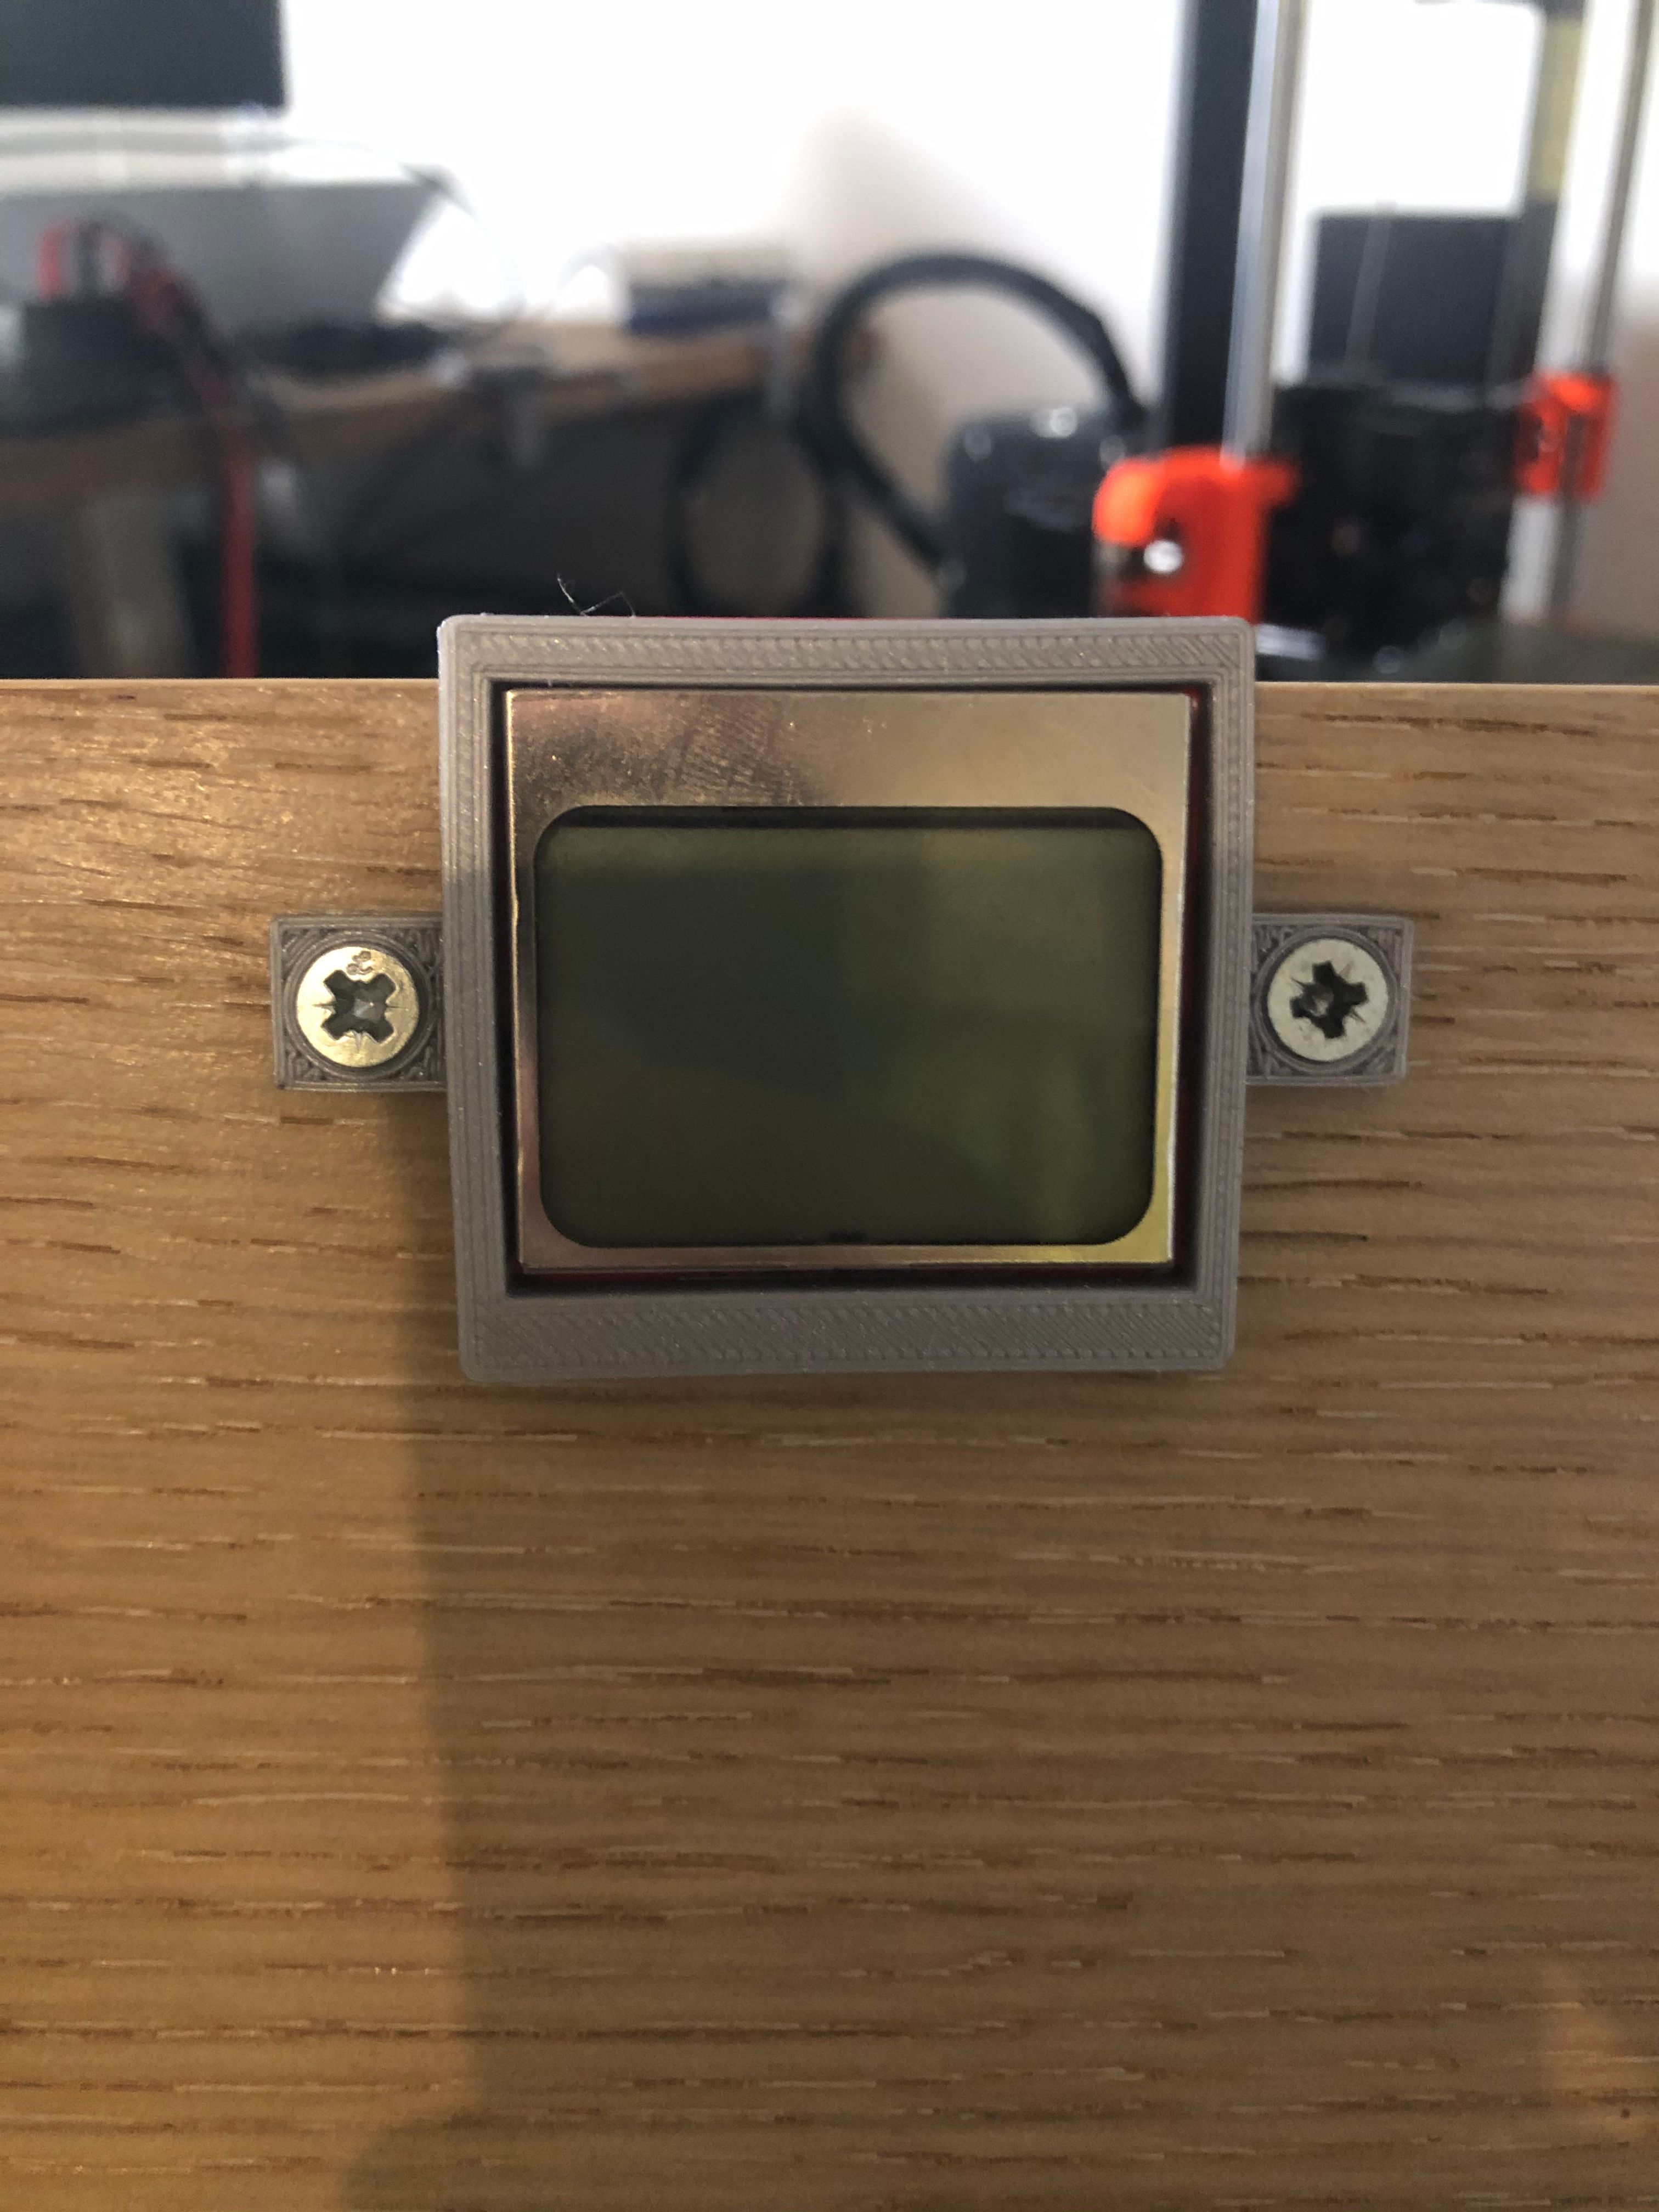
- PCD8544 screen (Nokia 3310 screen)
- Some wire
- (optionally) WeMos Dual Base Lego time! 🙂
3 minutes later I had both my debugging and (almost) finalized hardware. Yey!
Lego for adults
At this point I should point out that you can use the exact same components but not in “WeMos mini shield” form and use a breadboard, solder on protoboard or even make a board with your 3d printer, but I wouldn’t go that way. Just buy a bunch of WeMos shields from aliexpress for a couple of euros each and never go back. It’s fun!
I should point out that for no apparent reason, my obsession kicked in and I “had” to make a shield for the 5V voltage regulator (I wanted to feed from the same 12V line that I was gonna feed the bed) and a “backpack” shield on the relay that breaks out 2 pins to connect the bed thermistor to. I don’t know why I didn’t use a breadboard. My overengineering could not be tamed.
Programming the climate controller
Another cheat mode I used in this project apart from WeMos is ESPHome. I love this lil fella!
ESPHome is a firmware for the ESP family that transforms it to an IoT device. It’s the programming equivalent of Lego (TM) for sensor-based projects in YAML. Definitely check it out - it’s easier than you think and it does not need (but is able to talk to) any other home automation services, devices or bridges.
I say that it’s a cheat as there’s no need for WiFi capability per-se (although it’s nice to watch the humidity on your phone) but I didn’t NOT want it and ESPHome made the whole project much easier and give the ability to program/update it over the air for free (as in beer, freedom, time, the boobs and the rest). Noice.
The resulting YAML I used (reading the thermistor was a tad tricky and I was stupid enough to lose the forum link that explained it):
esphome:
name: filament_drawer
platform: ESP8266
board: d1_mini
wifi:
ssid: "Hello"
password: "*****"
# Enable fallback hotspot (captive portal) in case wifi connection fails
ap:
ssid: "Filament Drawer Fallback Hotspot"
password: "**********"
captive_portal:
# Enable logging
# logger:
# Enable Home Assistant API
api:
password: "***"
ota:
password: "***"
font:
- file: 'slkscr.ttf'
id: font1
size: 8
- file: 'BebasNeue-Regular.ttf'
id: font2
size: 30
- file: 'arial.ttf'
id: font3
size: 12
sensor:
- platform: dht
pin: D4
model: AM2302
temperature:
name: "Filament Drawer Temperature"
id: filament_temp
humidity:
name: "Filament Drawer Humidity"
id: filament_hum
update_interval: 1s
- platform: ntc
sensor: heatbed_sensor
id: heatbed_temp
calibration:
b_constant: 3950
reference_temperature: 25°C
reference_resistance: 100kOhm
# - 100kOhm -> 25°C
# - 1641.9Ohm -> 150°C
# - 226.15Ohm -> 250°C
name: HeatBed Temperature
- platform: resistance
id: heatbed_sensor
sensor: heatbed_source
configuration: UPSTREAM
resistor: 100kOhm
- platform: adc
id: heatbed_source
pin: A0
update_interval: never
filters:
- multiply: 3.3
switch:
- platform: gpio
pin: D2
id: ntc_vcc
restore_mode: ALWAYS_OFF
internal: True
- platform: gpio
pin: D1
id: heatbed_power
restore_mode: ALWAYS_OFF
interval:
- interval: 0.2s
then:
- switch.turn_on: ntc_vcc
- component.update: heatbed_source
- switch.turn_off: ntc_vcc
- interval: 1s
then:
- if:
condition:
lambda: 'return id(filament_hum).state > 20 and id(filament_temp).state < 50 and id(filament_temp).state > 5 and id(heatbed_temp).state < 52 and id(heatbed_temp).state > 5;'
then:
- climate.control:
id: heatbed
mode: AUTO
else:
- climate.control:
id: heatbed
mode: 'OFF'
climate:
- platform: bang_bang
id: heatbed
name: "HeatBed Controller"
sensor: heatbed_temp
default_target_temperature_low: 28.5°C
default_target_temperature_high: 30°C
heat_action:
- switch.turn_on: heatbed_power
idle_action:
- switch.turn_off: heatbed_power
visual:
min_temperature: 20°C
max_temperature: 50°C
temperature_step: 0.5°C
spi:
clk_pin: D5
mosi_pin: D7
display:
- platform: pcd8544
reset_pin: D0
cs_pin: D8
dc_pin: D6
update_interval: 2s
contrast: 70
lambda: |-
it.printf(18, 0, id(font1), "Filaments");
it.printf(14, 4, id(font2), "%.1f%%", id(filament_hum).state);
it.printf(0, 34, id(font3), "%.1f°C", id(filament_temp).state);
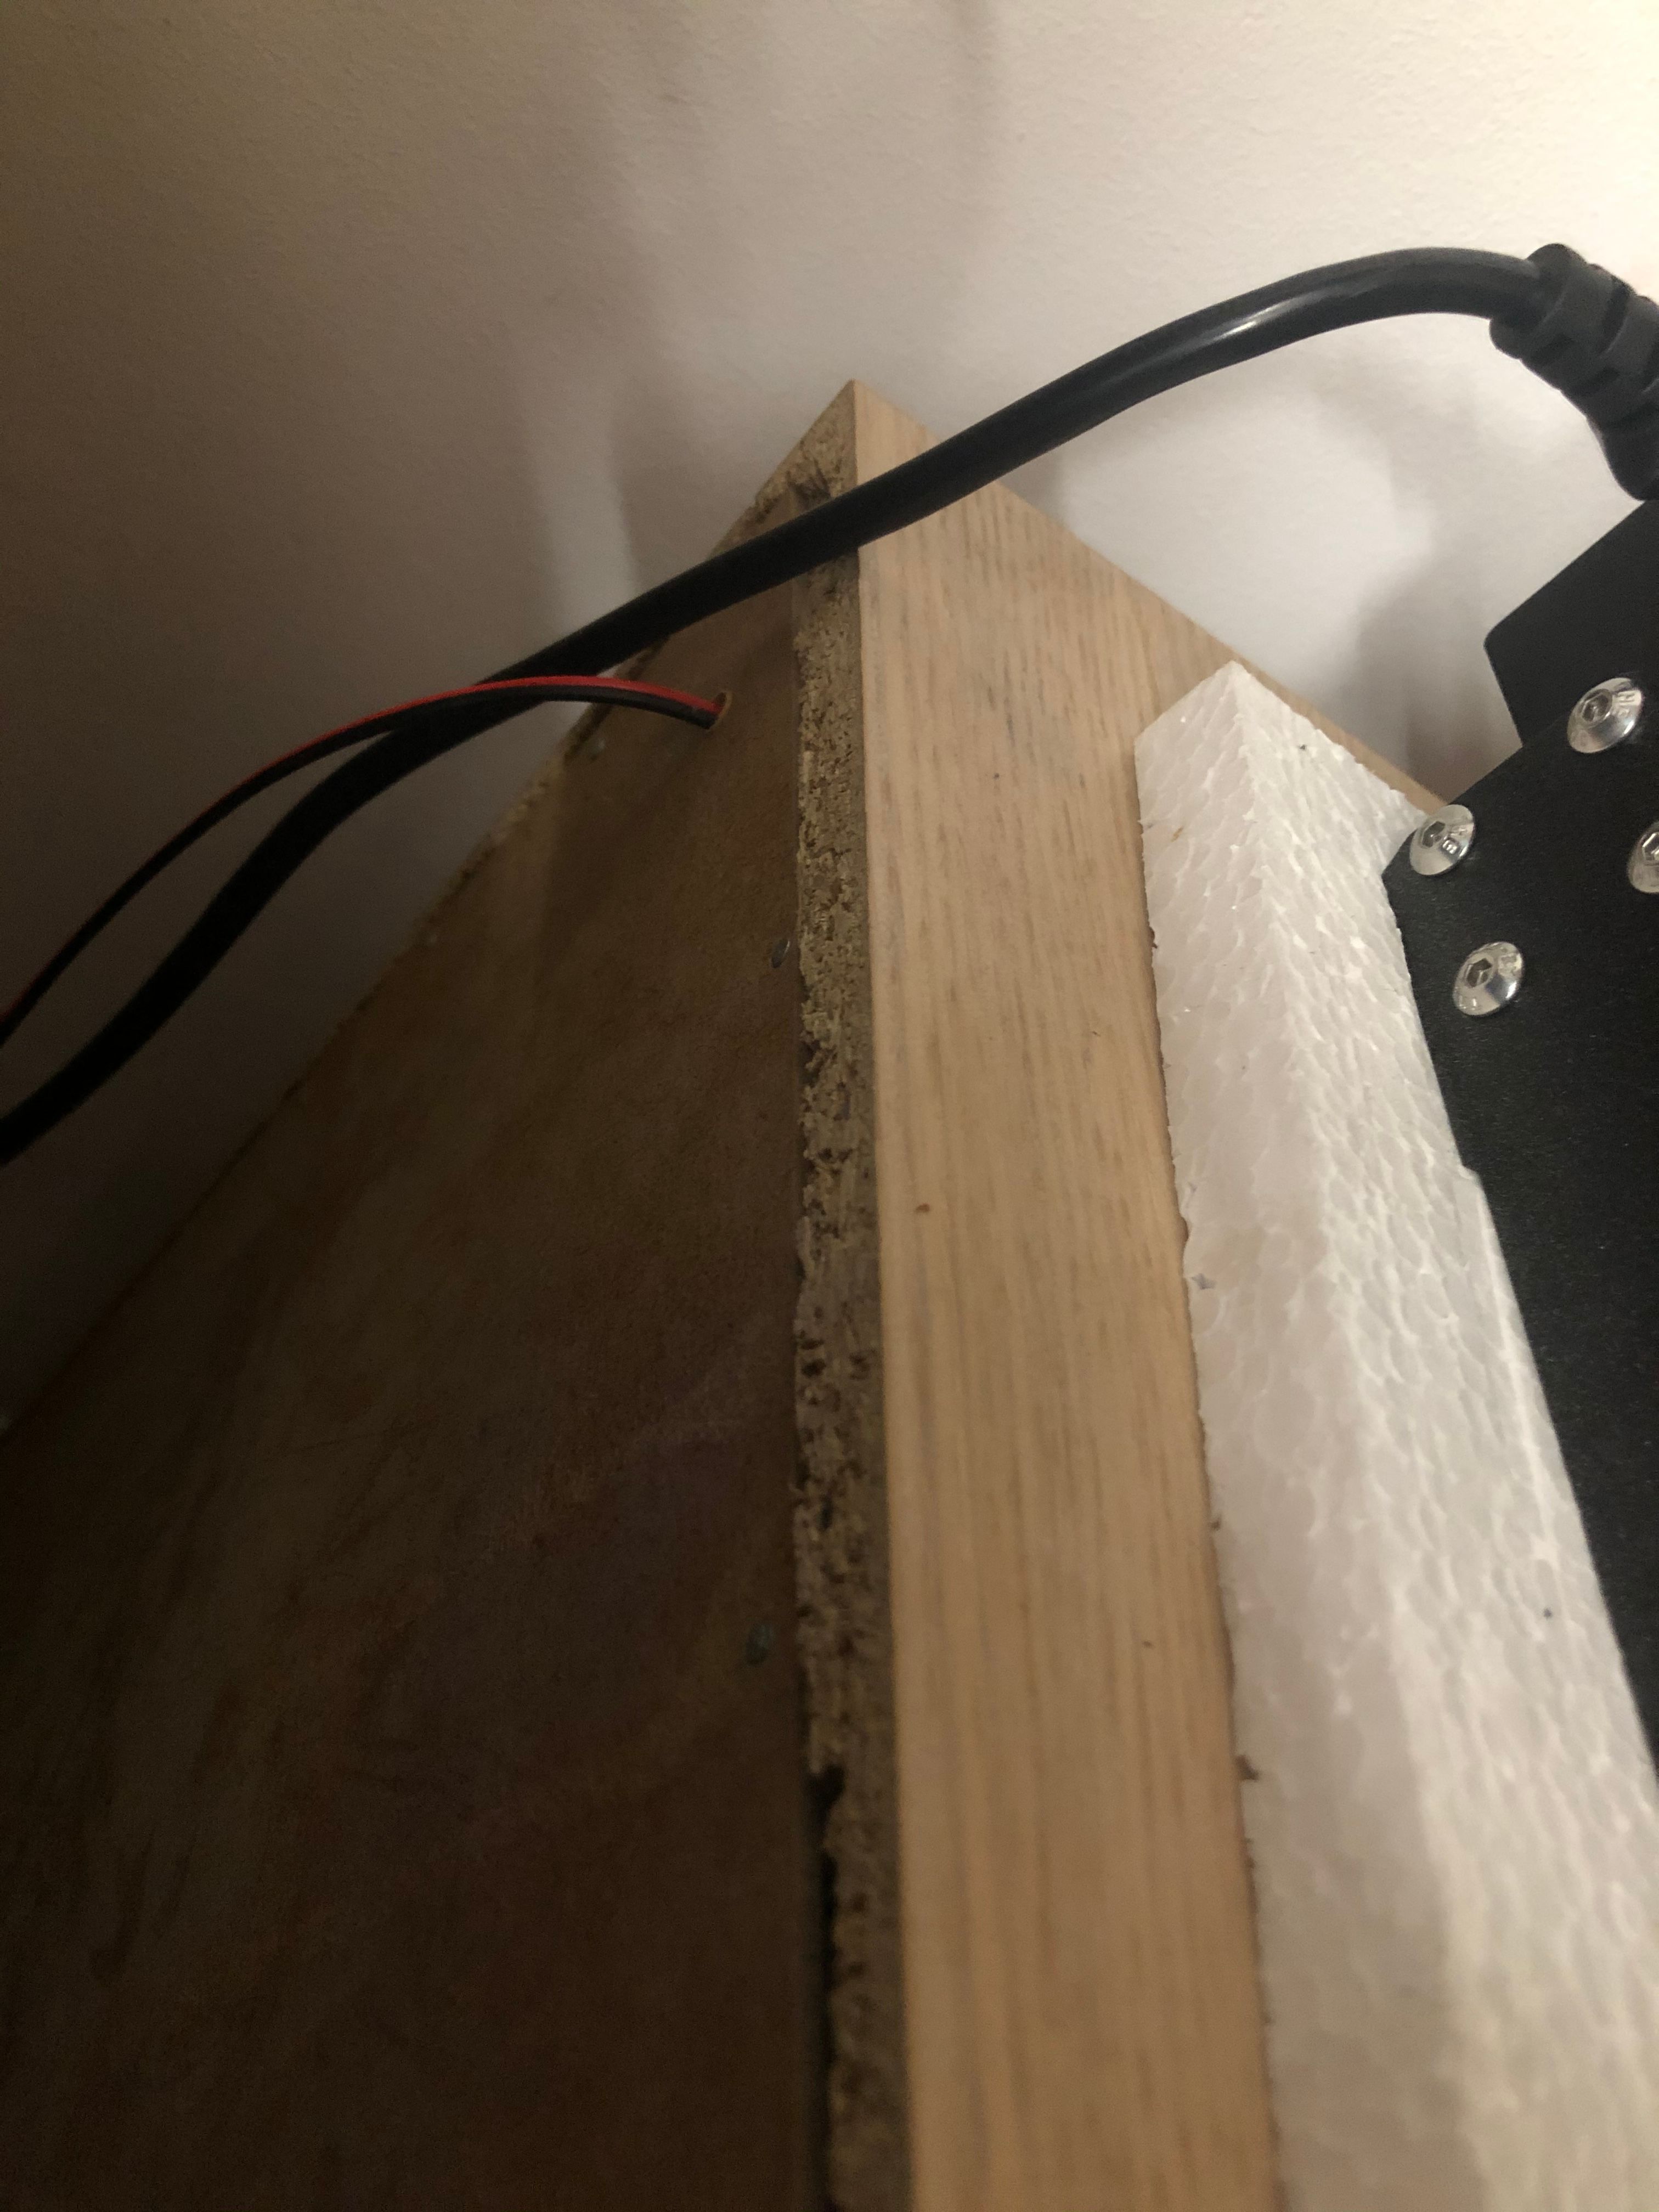
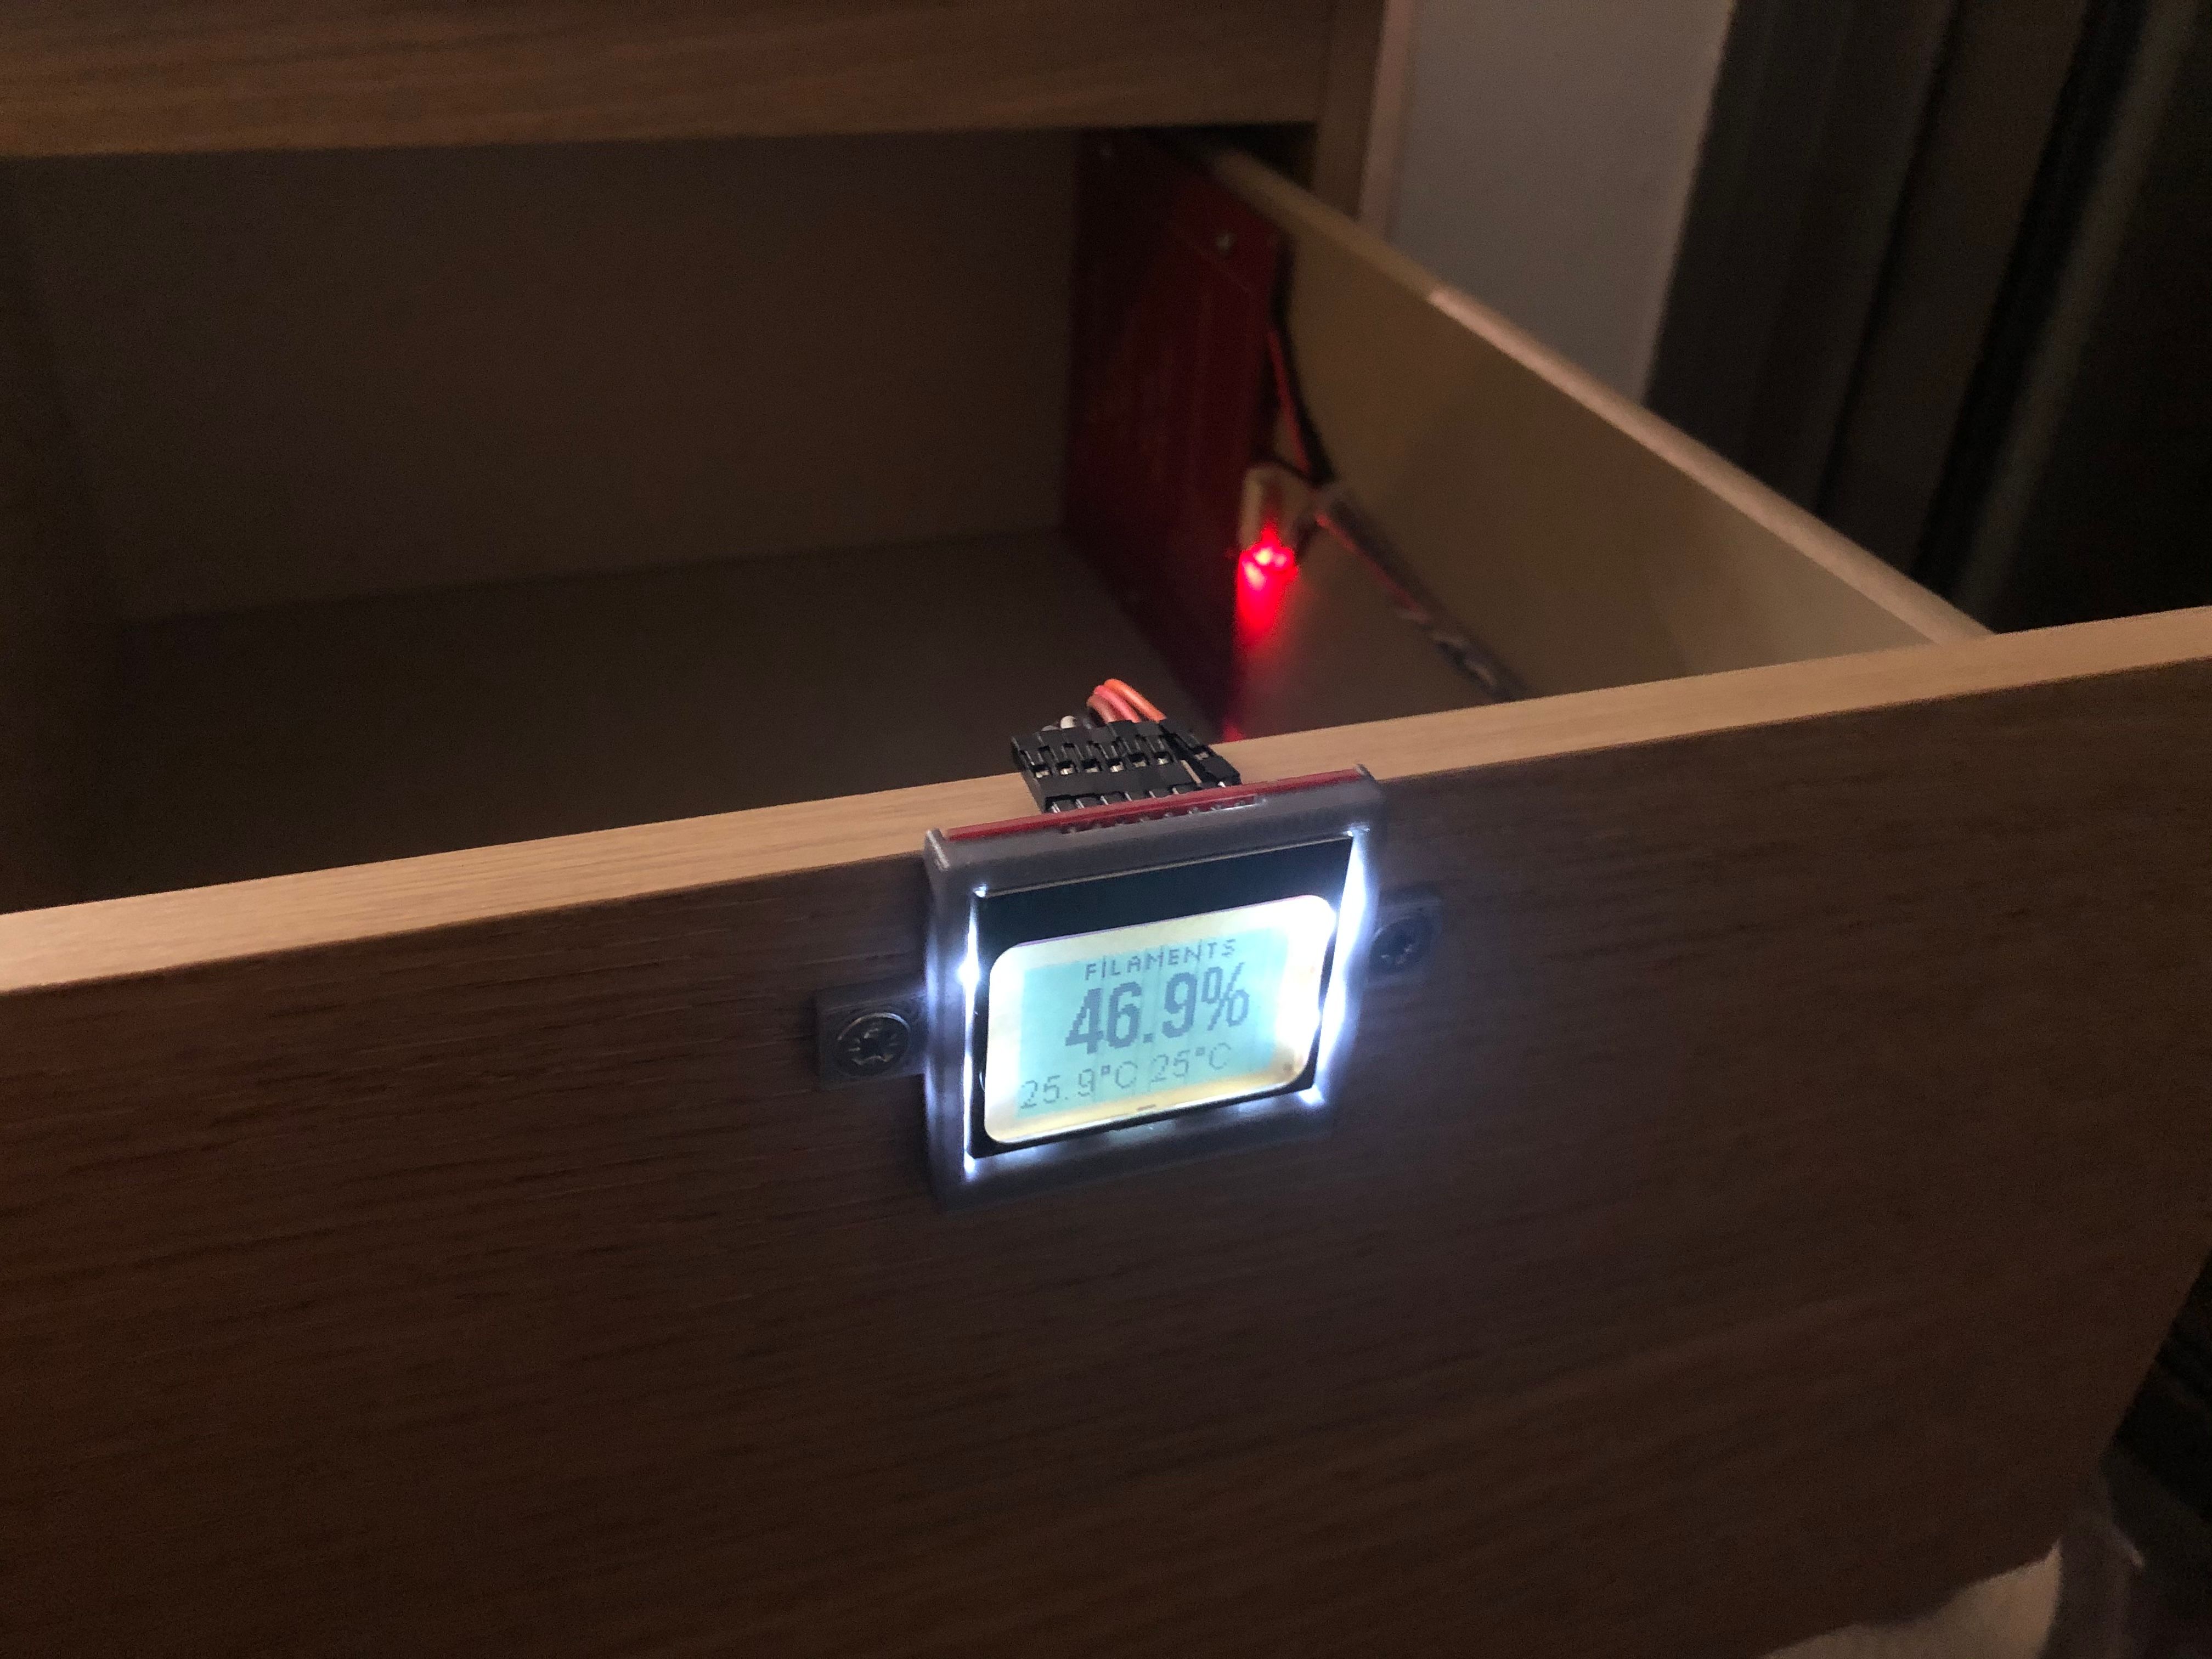
it.printf(42, 34, id(font3), "%.0f°C", id(heatbed_temp).state);Assembly of the drawer
{{% gallery %}}
{{% /gallery %}}
So? Did it work? How well?
It actually did! And pretty well! I wouldn’t want to change any humidity controlling related stuff. Here are some numbers and graphs to make you believe me:

Yey! Graphs and timelines!
Above you see that as soon as the heatbed temperature raises (top red) ambient temperature humidity falls (bottom red). Top blue is ambient temperature - must be kept below the glass temperature of the materials inside the drawer - in my case 60C for PLA & PETG.
What I might fix at some point is to remove the upper wood lip to allow me to sit the filaments vertically - right now they’re sitting horizontally and I can fit 4 of them.
Another thing I’d like is to swap the relay with a mosfet to avoid that clicking sound - most times I don’t even hear it but it would be neat, and as I’m at it design a proper 12V->5V shield.